Razor-Sharp Macro: Tips & Tricks
Focus stacking is a game-changer in macro photography. It lets you overcome the razor-thin depth of field at high magnifications by combining multiple images focused at different depths into a single, sharp composite image. When done right, the results are jaw-dropping. Here’s how to nail it.

1. Lock Down Your Setup
A steady setup is half the battle.
- Use a sturdy tripod or a macro rail.
- Avoid even minor vibrations — use a remote shutter or self-timer.
- If indoors, turn off fans and close windows. Even subtle air movements can ruin a stack.
- If you are shooting handheld, be aware of the movements caused by breathing. Use a stable stance and stabilize the camera by supporting yourself against your surroundings.
- A monopod is handy for difficult situations when shooting handheld stacks.
2. Use Manual Focus
Autofocus can hunt and shift unpredictably.
- Set your lens to manual focus.
- Move the camera (with a macro rail) or adjust the focus ring gradually for each shot.
- For handheld stacks, move the camera or the subject backwards and forwards to capture images at various focal planes.
- Try to maintain consistent step sizes.
3. Shoot in RAW
Give yourself maximum flexibility in post-processing.
- RAW files retain more detail and dynamic range.
- It helps recover shadows or highlights without introducing noise.
4. Light It Right
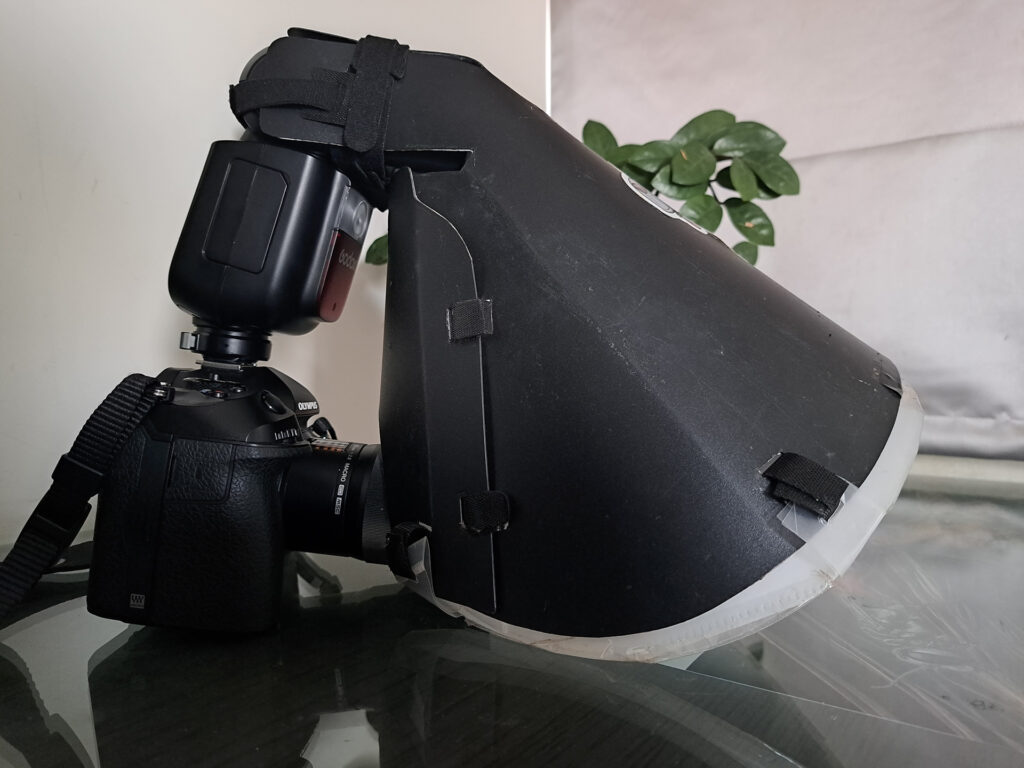
Light consistency is key.
- Use diffused lighting to avoid harsh shadows between frames.
- LED panels or flash with a softbox or diffuser work great.
- Use smaller flash powers since the charge recycle times are low and it helps with fast stacks.
- Typical settings: f/8-f/11 aperture (balance between depth and diffraction), lowest ISO possible, and a shutter speed appropriate for your lighting conditions.
- Make sure the diffuser output is optimal at the magnifications you like to shoot at.
Sample Settings for Different Scenarios:
- Extreme magnification (4x+): Multiple diffused flashes
- Field work: f/8, ISO 200, 1/160s with diffused flash at 1/32 power
5. Mind the Overlap
Ensure there’s enough depth overlap between shots.
- Too little: you get stacking artifacts.
- Too much: you waste time and storage.
- A 25–50% overlap between sharp areas is usually safe.
6. Use a Focus Rail (When Possible)
7. Watch Out for Subject Movement
Even the smallest movements can ruin stacks.
- Choose calm, windless conditions if you’re outdoors.
- If shooting live subjects, keep stacks short and quick.
8. Choose the Right Stacking Method
Software Comparison
| Software | Strengths | Weakness | Best For |
| Zerene Stacker | Fine control, retouching tools | Steeper learning curve | Professional work |
| Helicon Focus | User-friendly, fast | Less retouching precision | Efficient workflow |
| Photoshop | Accessibility, integration | Slower, fewer options | Occasional and casual stacking |
| Picolay | Cost, basic functionality | Limited features | Beginners |
In these applications,
- DMAP/Depth Map: Good for clean, low-artifact results, especially on smooth subjects, handles slight movement better.
- PMAX/Pyramid: Great for detail, but can produce halos and noise.
- Try both methods and blend manually if needed.

9. Retouch the Stack
Don’t trust automation completely.
- Use the software’s retouch tool to fix halos, ghosting, or missed spots.
- Borrow clean areas from source images to patch the final output.
Common Artifacts and Solutions:
- Halos around edges: Use retouching tools to clone from a single source frame
- Double edges: Usually caused by slight movement—try reprocessing with fewer frames or a different algorithm.
- Background noise: Use selective masks to control the noise, while preserving the details in the stack.
10. Practice, Patience, and Post-Process
Stacking can be frustrating at first.
- Learn from your mistakes — check where artifacts occur.
- Apply sharpening selectively to avoid enhancing noise—focus on edges and textures.
- Use conservative noise reduction on smooth areas only.
- Consider local contrast adjustments to enhance the three-dimensional feel.
- Not every subject needs stacking. Use it where it helps.
11. Alternative Techniques
Sometimes focus stacking may not be the best approach. Consider these alternatives:
- Extended DOF in-camera: Some cameras have built-in focus stacking capabilities or extended DOF modes
- Tilt-shift lenses: Can increase apparent DOF along a specific plane
- Single-shot with diffraction-aware settings: For lower magnifications, stopping down to f/16-f/22 can sometimes provide enough DOF
Troubleshooting Guide
| Problem | Possible Causes | Solutions |
| Blurry final image | Camera/subject movement | Use tripods, faster capture sequence |
| Halo artifacts | Overlapping elements in the frame | Retouch the artifacts using original source images or PMAX outputs |
| Alignment issues | Camera shift | Use dedicated rail, check equipment stability, use tripods / monopods |
| Partial areas remaining out of focus | Missed focus points | Ensure complete coverage of subject with adequate overlap in the steps |
Bringing It All Together
Focus stacking isn’t just a technical skill — it’s an art. With patience, the right tools, and a few tricks up your sleeve, you can turn wafer-thin DOF into mesmerizing full-detail shots. Whether you’re stacking bugs, flowers, or mushrooms, each frame brings you closer to revealing a hidden world.
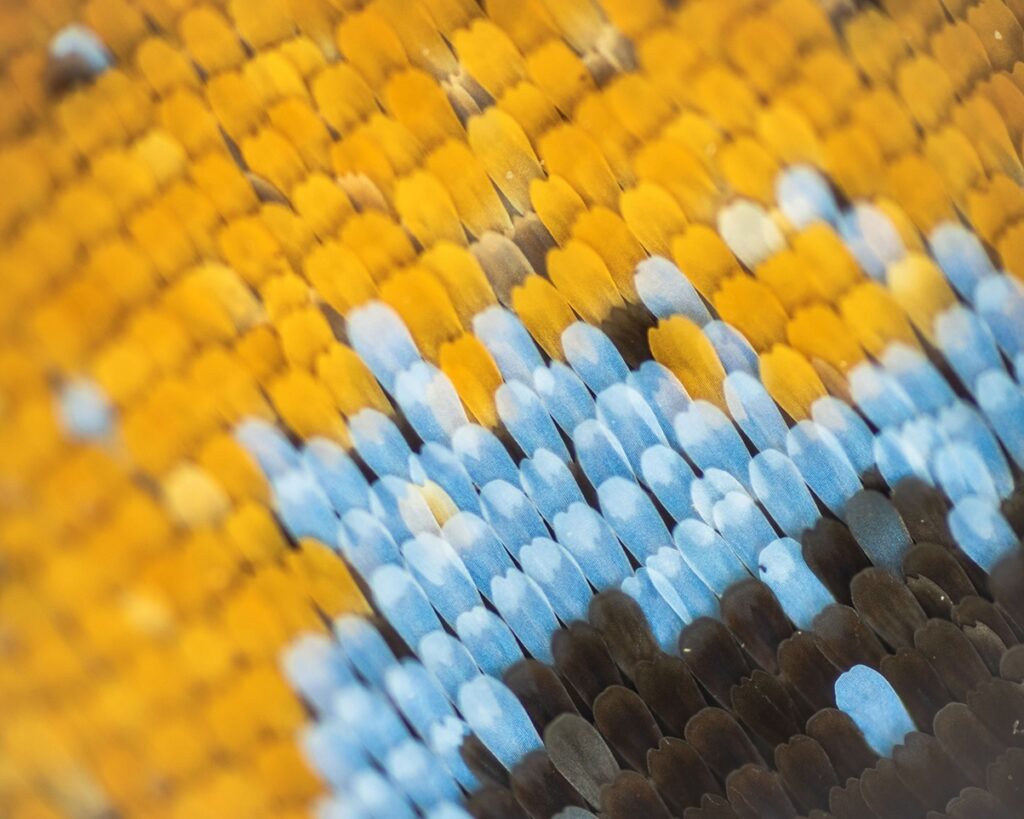
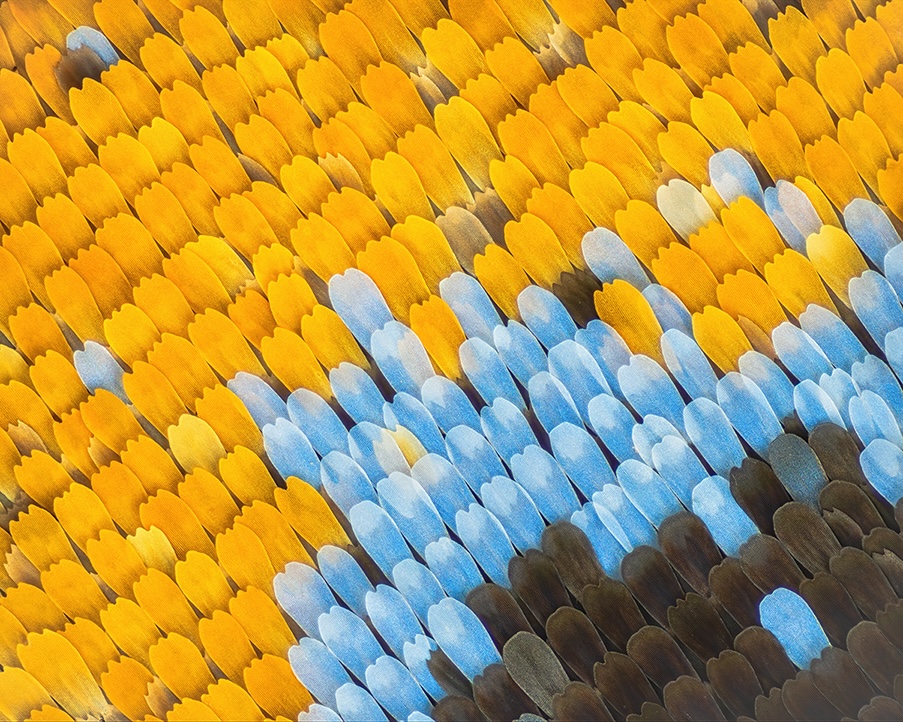
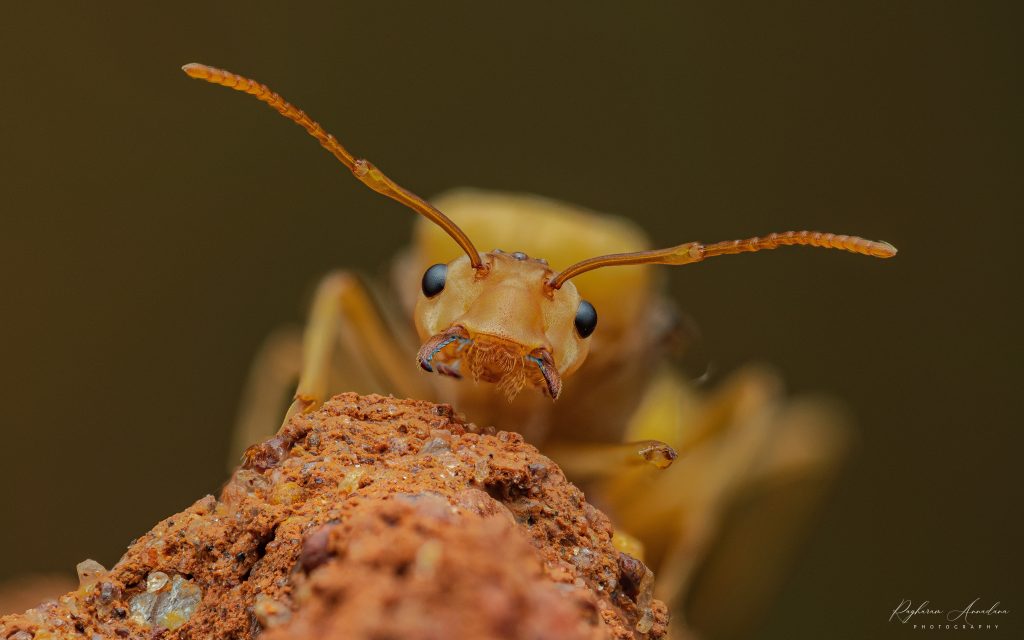
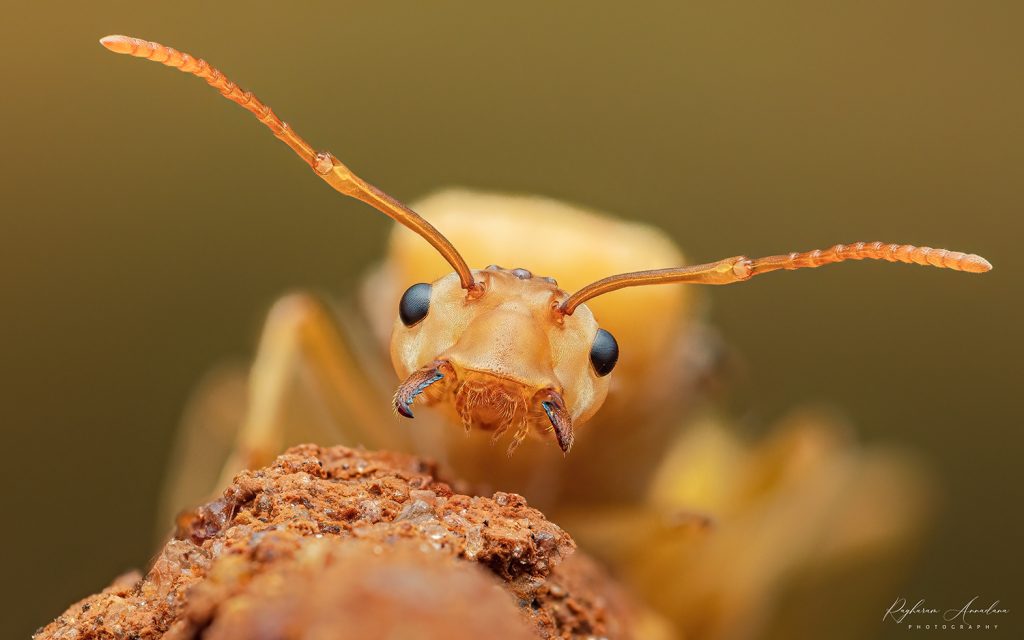
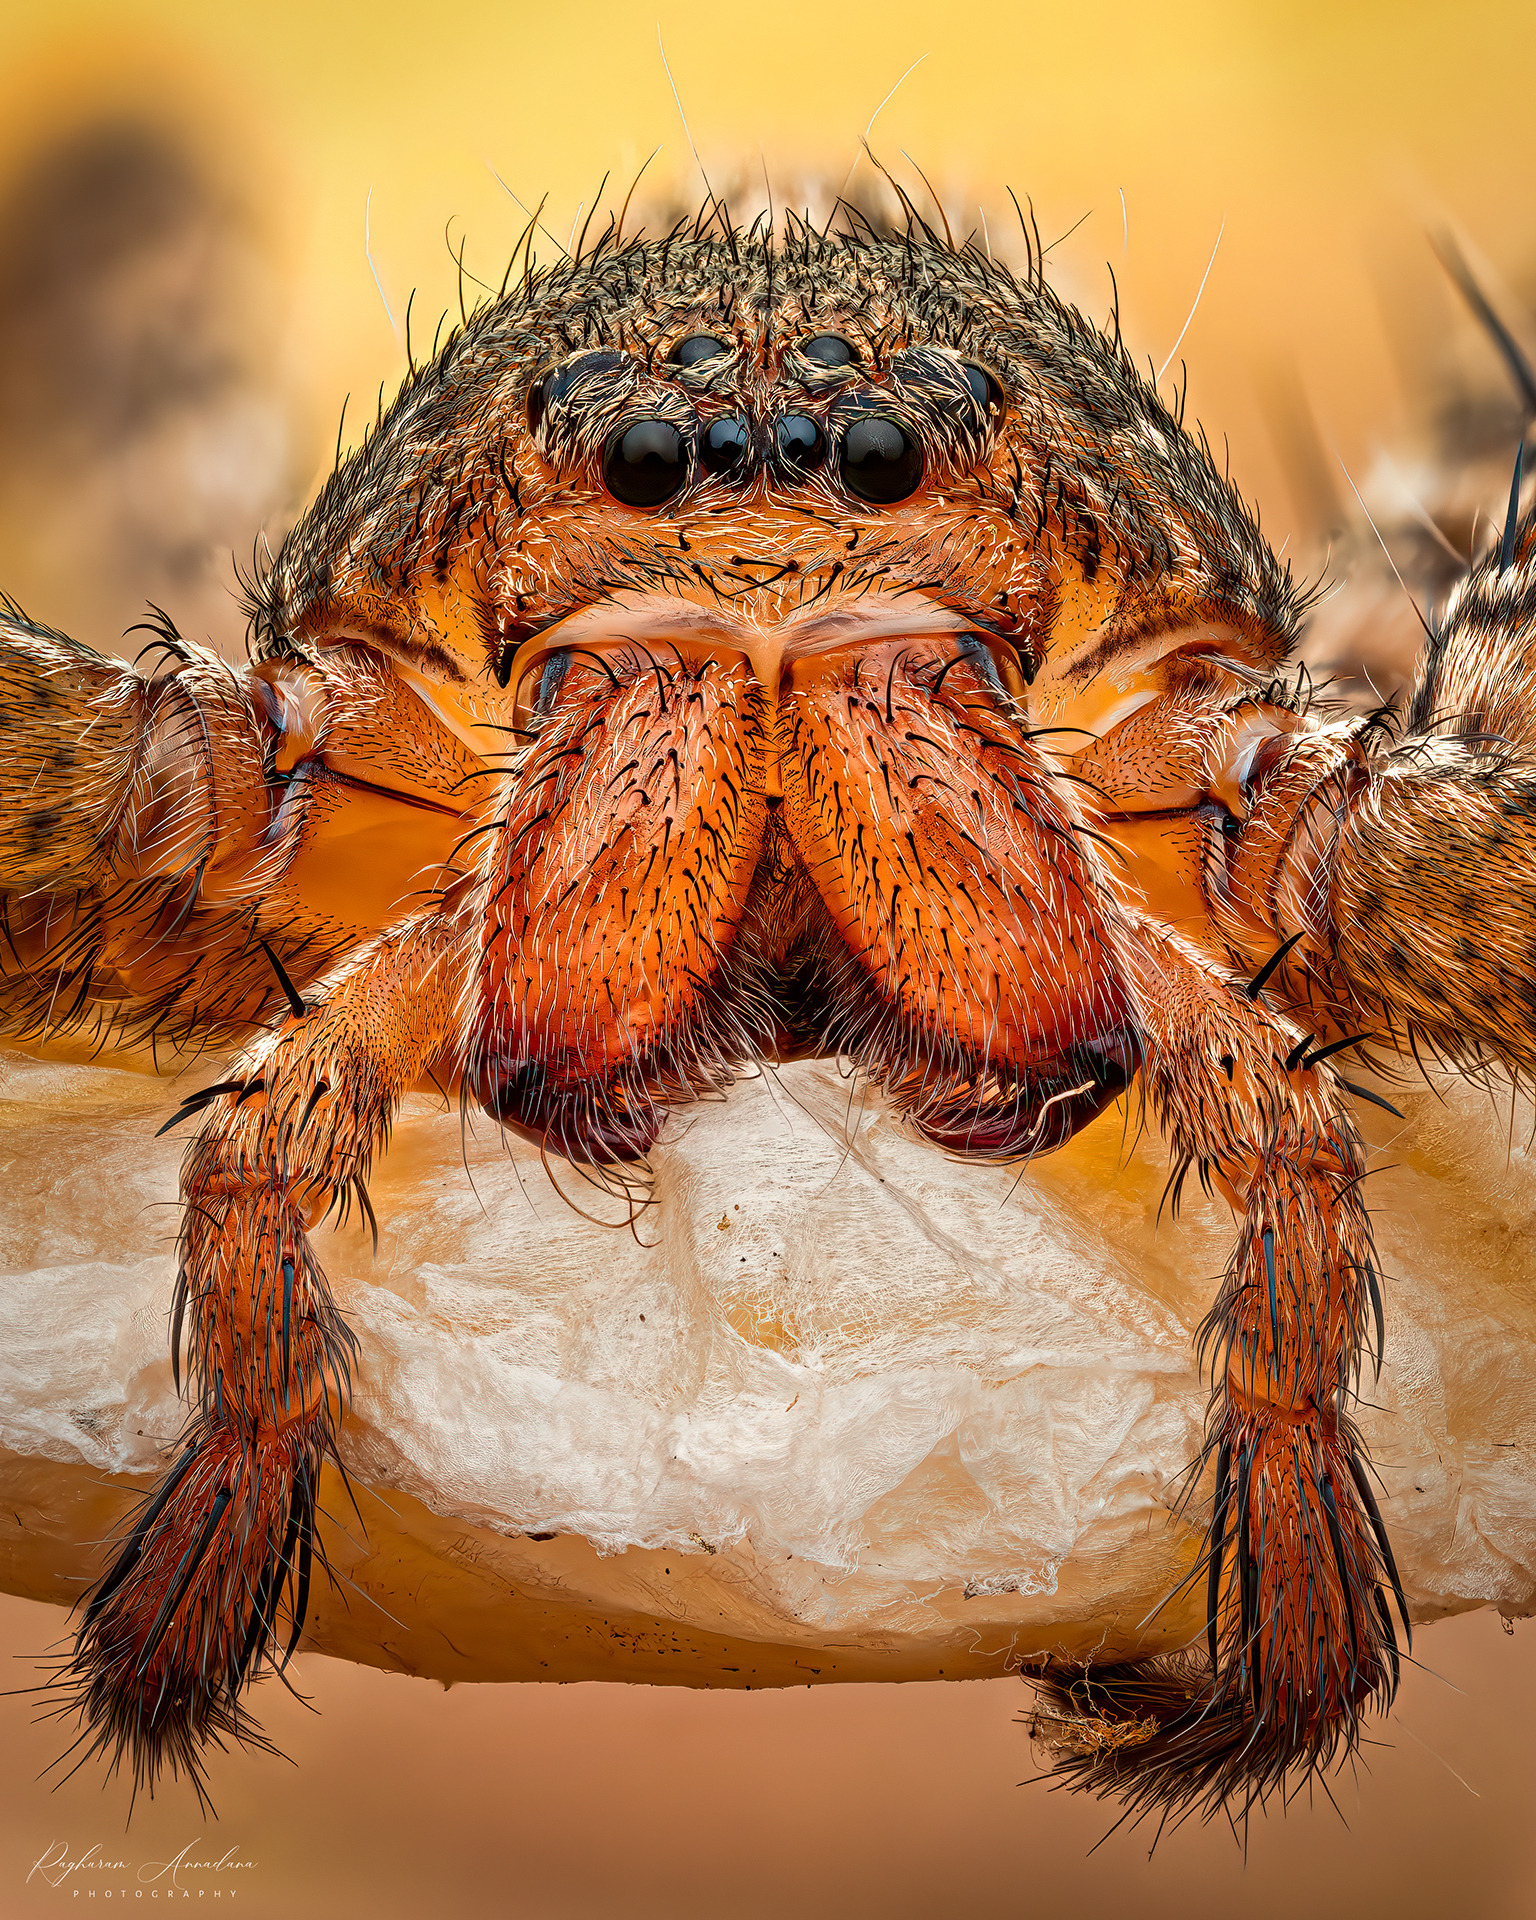
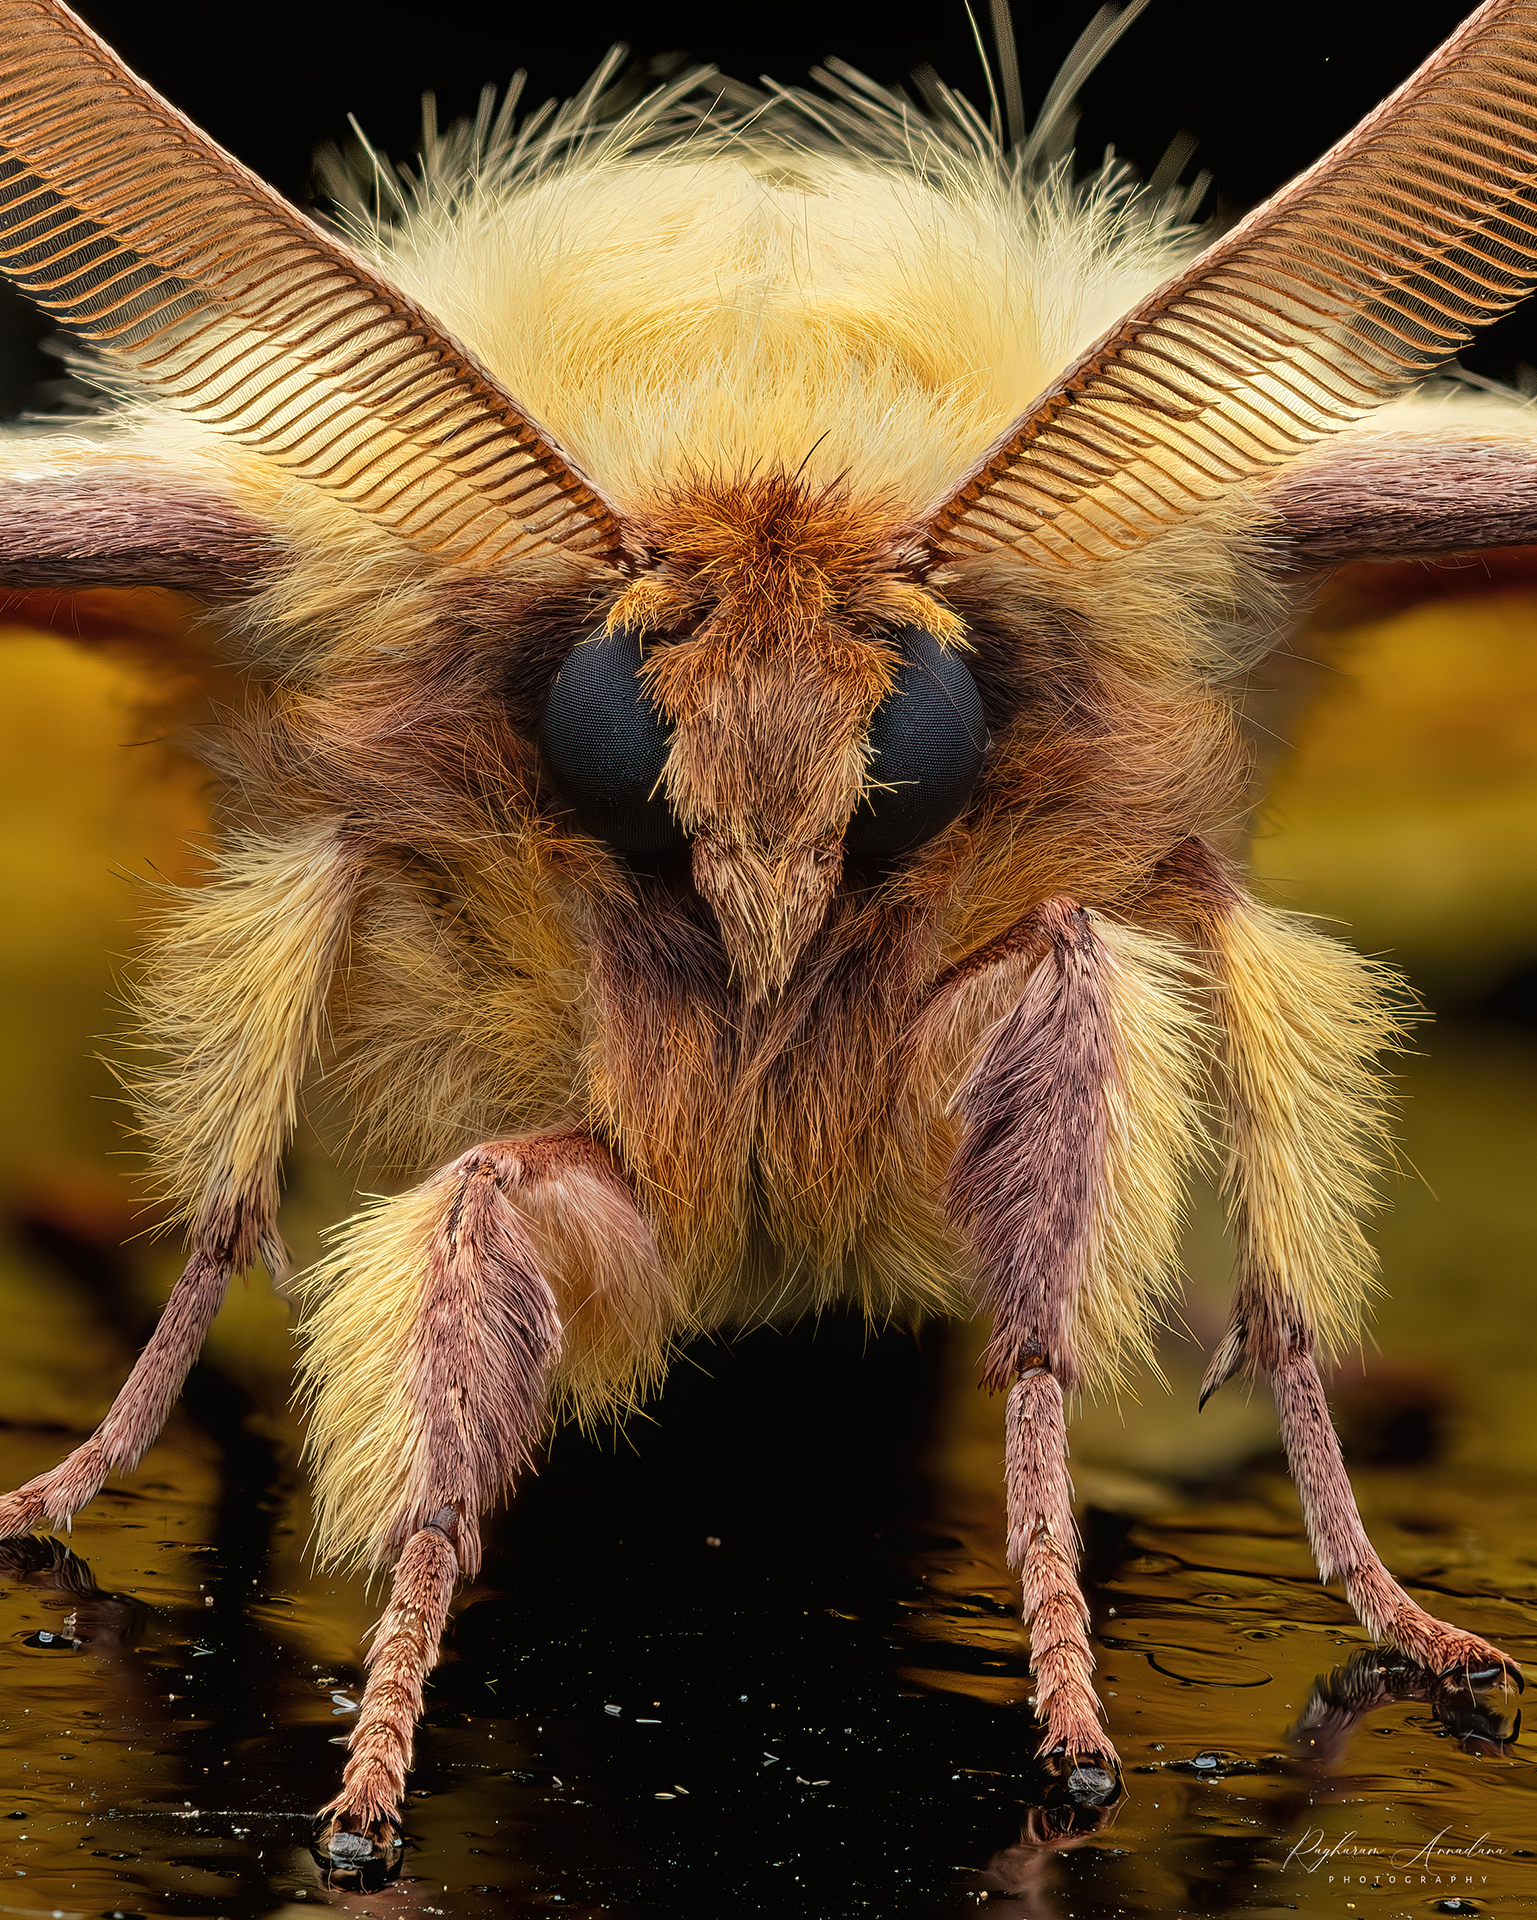
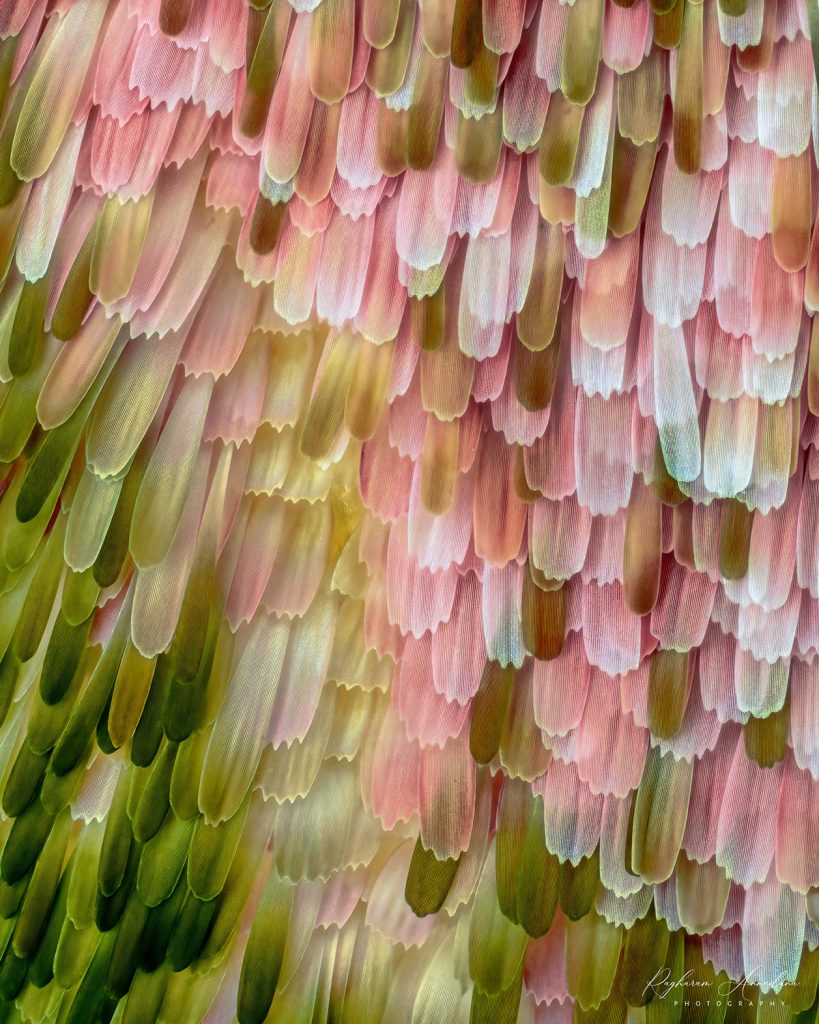
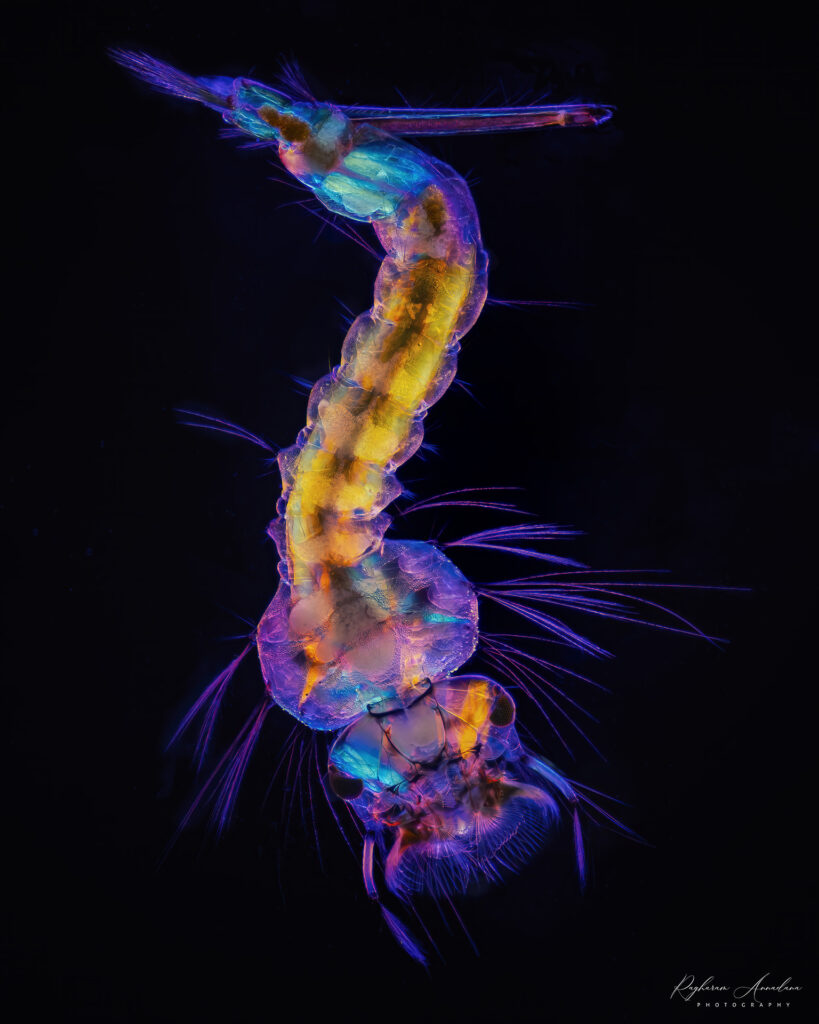
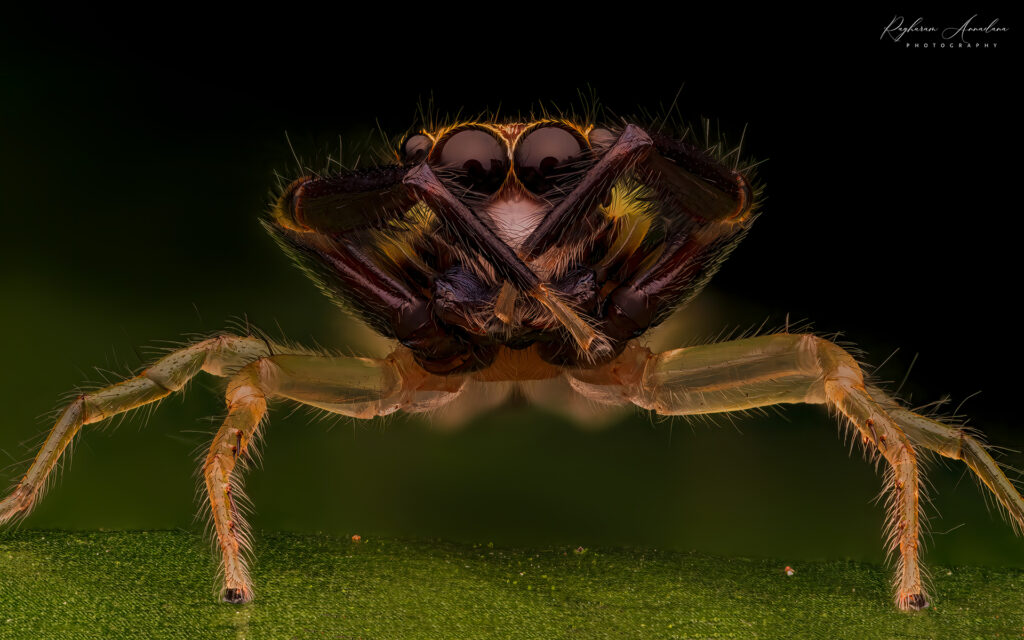
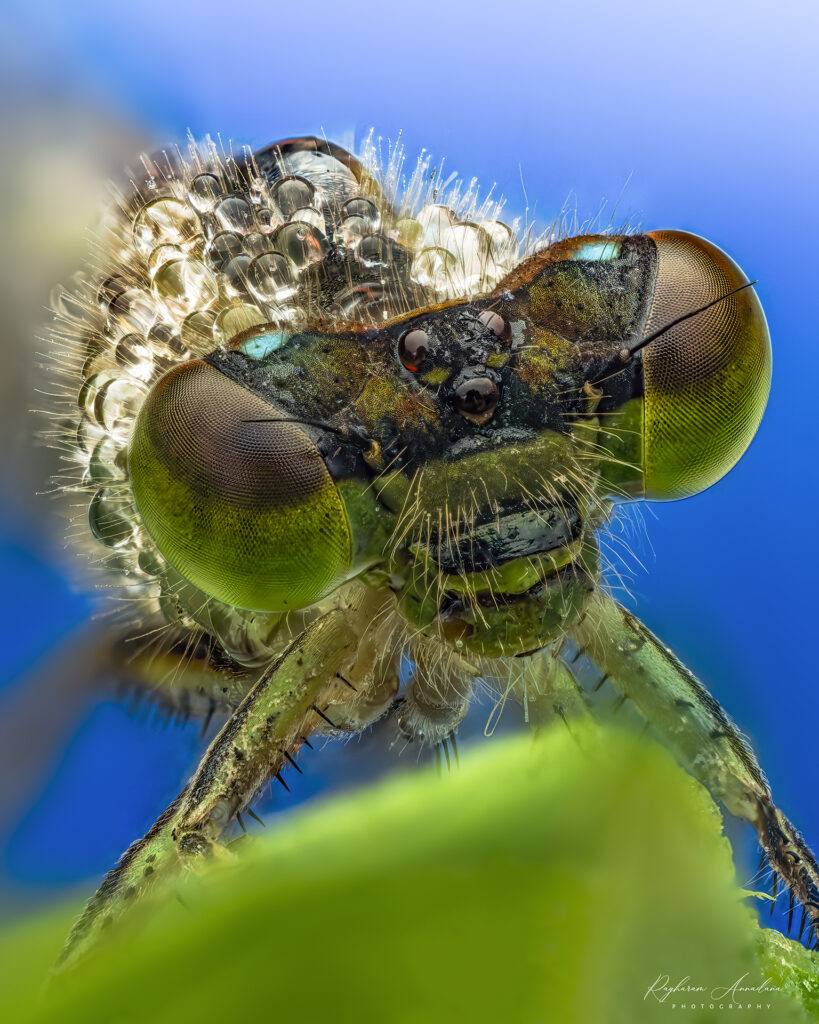
Some examples of focus-stacked images


One Comment
VINOD KUMAR V K
Awesome writeup… very much usefull to begin a stack.. enjoyed reading
Thank you so much